


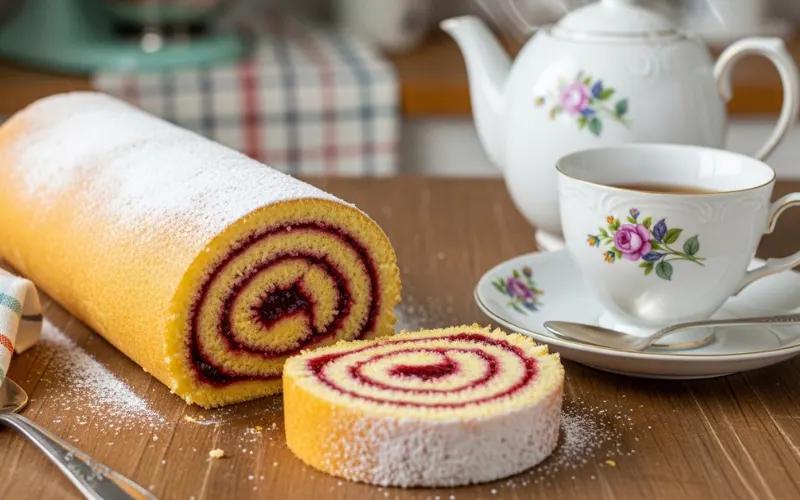
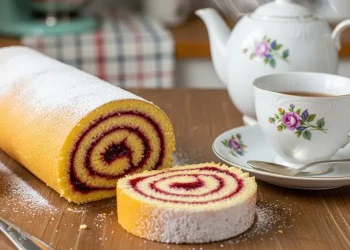
I have been used to having a Swiss roll every Sunday made by my nan. The jam in the jar of Hartley, made of strawberries, a dusting of caster sugar so thick it was almost rolling. I did not hear jelly roll until American readers began to come in this blog.
The recipe of this jelly roll cake is a product of 40-something test bakes since 2019. Three eggs. 100g sugar. 100g flour. The ratios are in my brain. It has not broken in less than two years and I will prove why.
What is a Jelly Roll Cake?
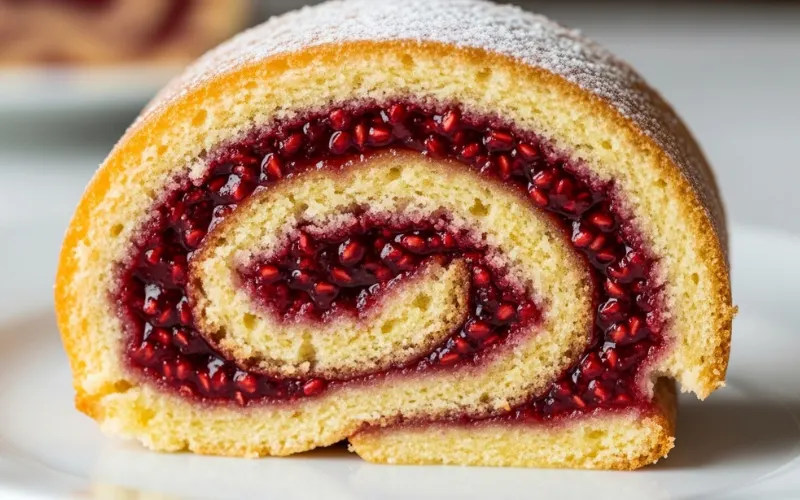
A jelly roll cake is a sponge, which is thinly whisked and filled with a filling and rolled into a tight spiral. Americans refer to it as a jelly roll. The Swiss roll, say the British. The French say gâteau roulé. Different passports, same cake.
Being a type of jelly roll food, it falls somewhere in between a daily tea-time snack and a dinner-party main course. What you fill in determines what end of that spectrum you will fall on. Jam for Tuesday. Ganache on Saturday night.
Jelly Roll vs Swiss Roll vs Roulade

There are occasions when people look about jelly roll pastry yet it is not pastry. Butterless, shortcrustless, no puff. It has a base of a roll cake sponge, prepared using whipped eggs, sugar, and flour.
A roulade is a larger family: any piece of cake rolled into a filling, sweet or savoury. One particular type is a jelly roll. American recipes first emerged in the 1870s, but the rolling of sponges had been going on since the 19th century by Central European bakers.
Why This Jelly Roll Recipe Works
It took me three times of trying butter before I came to accept that oil was the solution. All butter versions broke on the second roll. The oil version? Folded like a tumbler.
Butter solidifies when kept cold, and turns a soft sponge roll into a hard and brittle substance. The sunflower oil, which is two tablespoons, makes the crumb soft and pliable even when it is taken out of the fridge. The butter was used in the original recipe by my nan. Science has no feeling with it.
The Egg and Flour Science
The non-negotiables are separated eggs. The act of whipping whites to stiff peaks creates an airy framework; the act of adding the yolks in separately adds richness without deflating all the work you have just done. I have also encountered recipes that do not require the step of separating the eggs and simply whisk whole eggs. They give a heavier, stiffer sponge.
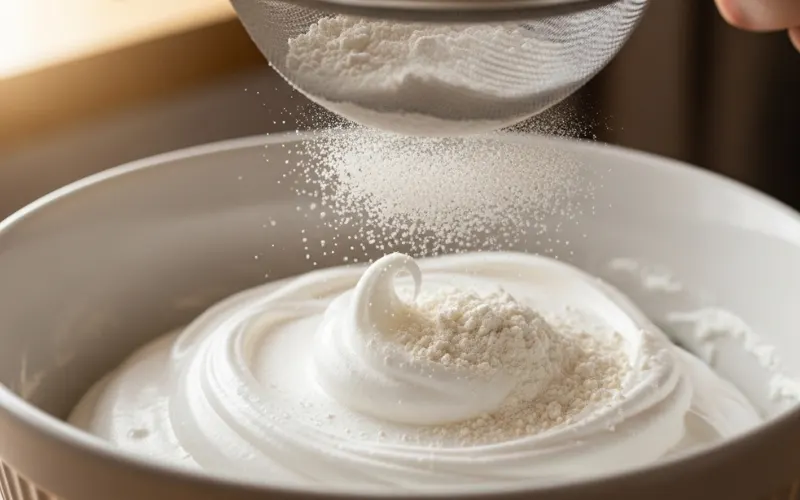
I sift plain flour twice since less gluten (low protein) results in a softer crumb. A tablespoon of warm water forms steam in the baking process that ensures that the sponge remains wet enough to endure rolling.
I picked up that warm-water tip in a book on baking science at a car boot sale in 2021. Authentically transformed the way I make this recipe. Everything here is based on the method of Genoese whisked sponge.
Machinery You Really Require
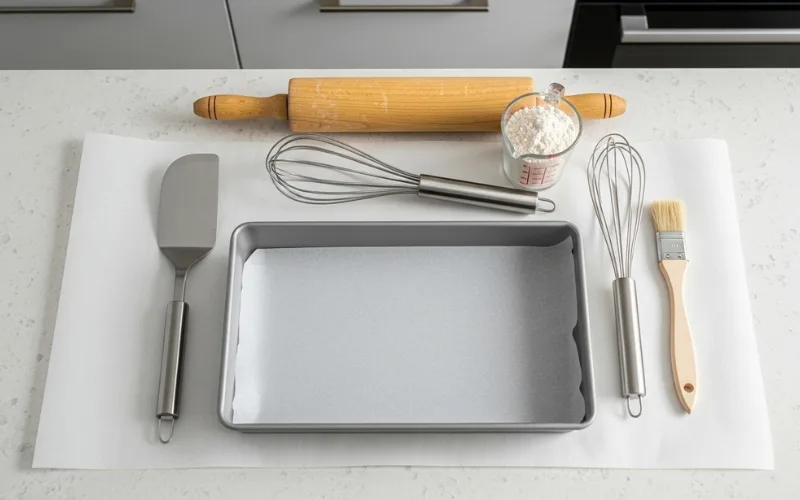
In the US, the right pan is a jelly roll pan (15 by 10 inch), otherwise known as a Swiss roll tin in the UK. The only notable difference is that the sides are raised 1 inch to prevent the batter being spilled everywhere. A cookie sheet is level; you will have batter on the floor of the oven.
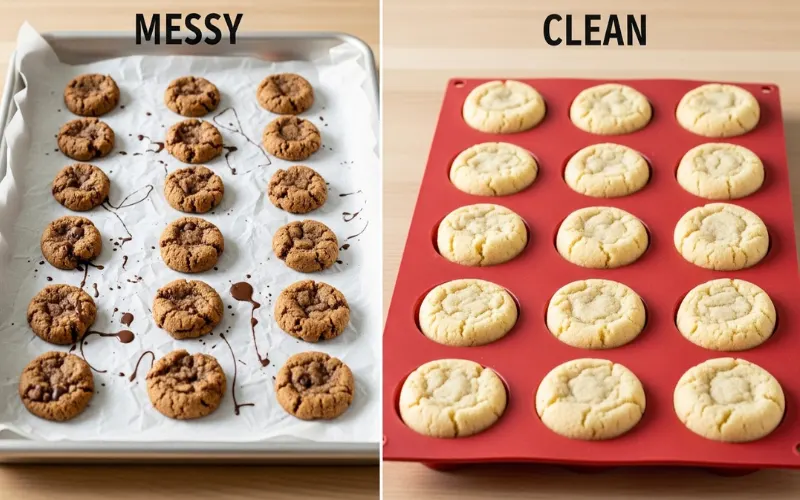
The Silverwood anodized aluminum tin that I purchased nine years ago costs me £14. The sponge is easy to clean out and the heavy base spreads the heat evenly. Do not spend money on non-stick coatings; they turn color when baked a few times and you are using parchment anyhow.
Substitutes and What to Avoid
No jelly roll pan? A rimmed baking sheet is fine as long as it is approximately the right size. Draw parchment around its sides, and turn the paper in on the sides to secure the batter.
Silicone bakeware should be avoided; it is too soft and forms crooked and irregular sides. Parchment paper, a clean tea towel, an offset spatula or palette knife and a wire cooling rack are also needed.
That’s it. No piping bags, no professional moulds, no appliances from the back of a magazine.
Jelly Roll Recipe
It is an old-fashioned jelly roll that is ready within 35 minutes on the bowl to plate. Twenty minutes of preparation, ten to twelve baking time, a few minutes rolling and filling. Serves 8 to 10 slices.
Ingredients
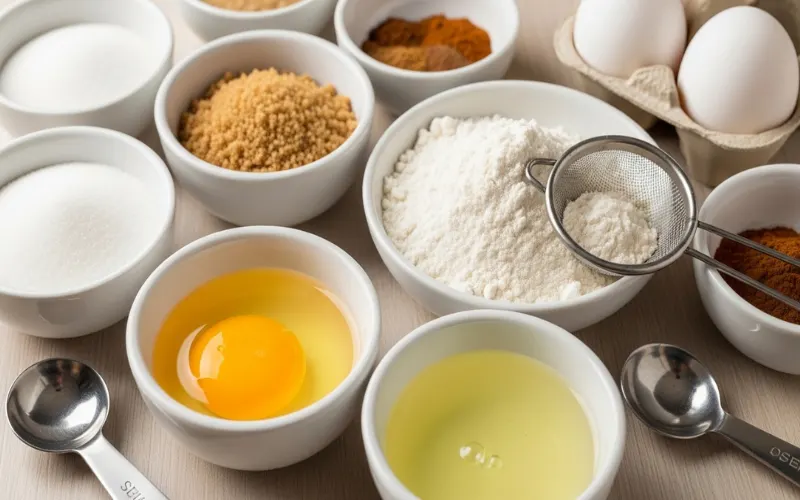
- 3 large eggs, separated, at room temperature
- 100g (3½ oz) caster sugar, plus extra for dusting
- 1 tsp vanilla extract
- 100g (3½ oz) plain flour, sifted twice (or cake flour)
- 2 tbsp sunflower or vegetable oil
- 1 tbsp warm water
- Pinch of fine salt
To fill: 4-5 tbsp good-quality raspberry or homemade strawberry jam, warmed a bit.
I use Tate & Lyle caster sugar and Allinson’s plain flour. Nothing exotic. The eggs are more important; you should use large, free-range, room temperature eggs. Cold whites will not whip.
Quick Method Overview
To make whipped egg whites to stiff peaks, beat yolks separately with sugar to the ribbon stage, and then combine with flour, oil, and water. Bake at 200°C (400°F / Gas 6) for 10–12 minutes.
Pour onto a sugared tea towel, roll up hot, allow to cool, roll over, fill, and roll over. The step-by-step tour is given below.
Step-by-Step: How to Make a Jelly Roll That Doesn’t Crack
Preheat your oven to 200°C (400°F / Gas 6). Coat your Swiss roll pan with parchment paper, cutting into the corners to make it lie flat. This cake roll recipe is a quick recipe as the batter is ready, but it is best to finish the tin first.
Making the Batter
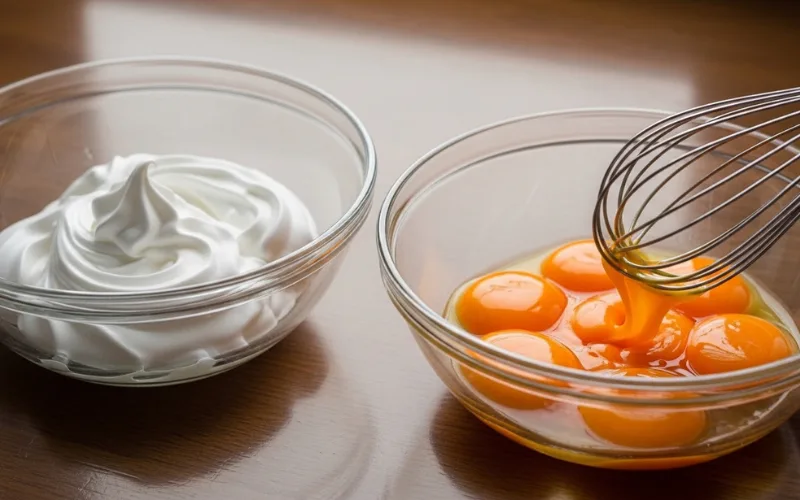
Stiff peaks: Hamburger: Add a pinch of salt, and whisk the egg whites until stiff peaks are achieved. And you will hear the whisk go sloshy to be still, and the whites stiffen. When lifting the beaters, the peaks should be straight, not sloping.
Whisk the yolks and caster sugar in another bowl until it is pale, thick and mousse-like. It is the ribbon; it is sufficiently thick that you can write on it your first and leave it for three seconds.
Folding and Pouring
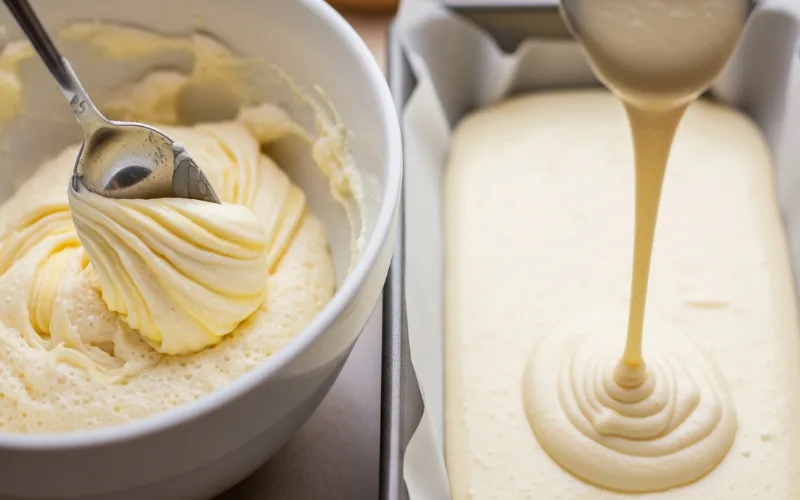
Stir in vanilla extract and oil into the yolk mixture. Sift flour on top and gently fold with a metal spoon. Not a bit, not a spatula. The sharp, thin edge cuts through without knocking out air. Stir in the warm water.
Fold in now the egg whites. Add in thirds, turn over until the batter is loose, then the rest of the third very gradually and carefully. Turn the bowl a quarter-turn after each fold. The sponge is killed by overmixing in this case and this occurs when the white streaks disappear.
Baking

Add to your prepared tin, tipping it until it gets to the corners. Line up the offset spatula without pressing. The batter is to be only roughly 1cm in depth; otherwise, the centre will not cook before the sides get hard.
Bake for 10 to 12 minutes. At 11 minutes in my Neff oven, the sponge springs back when pressed and the edges have just pulled away. Don’t overbake. Even one extra minute creates a dry surface that’ll crack when you roll. Set a timer. Trust it.
The Rolling Technique
While the sponge bakes, lay a clean tea towel on your worktop and dust it generously with caster sugar. The sugar stops the sponge welding itself to the fabric. I skipped this step once. Lost half the sponge trying to peel it free.
Take the second sponge out and tip it over the sugared towel. Carefully remove parchment. Cut the sharp edges of the crust with a knife; you need only about 5mm on each side. These edges are drier compared to the centre and can crack in case they are left on.
Setting the Curve
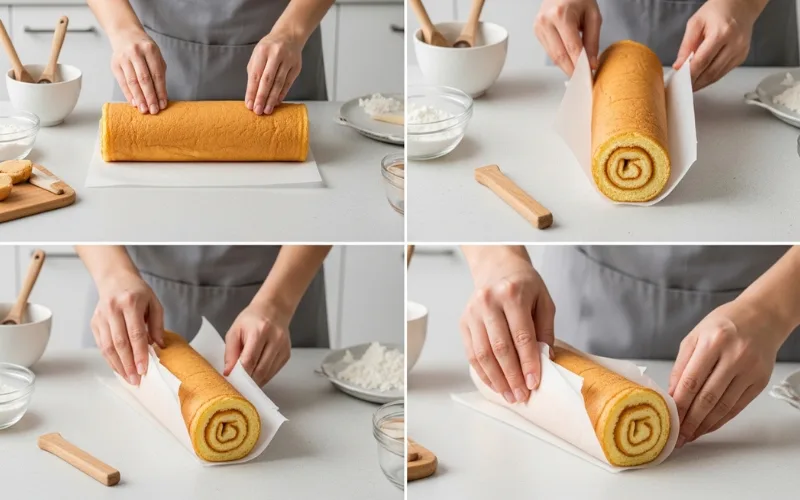
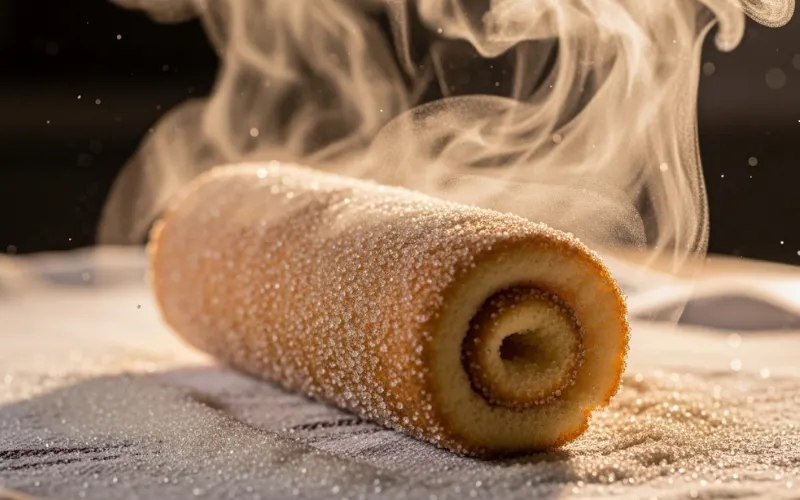
Roll the sponge up from the short end, rolling the towel inside as you go. Keep it fairly tight, but don’t force it. Let it sit seam-side down for five minutes. This is the most important five minutes of the whole process.
While the sponge rests, the proteins and starches cool in that curved position. They remember the shape. When you unroll it later, the sponge cooperates instead of fighting you. Skip this rest and rolling with filling becomes a battle you’ll lose.
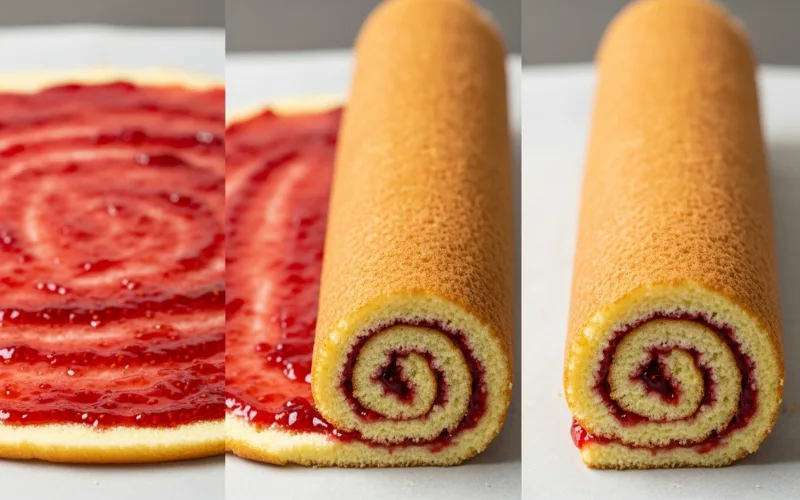
Filling and Finishing
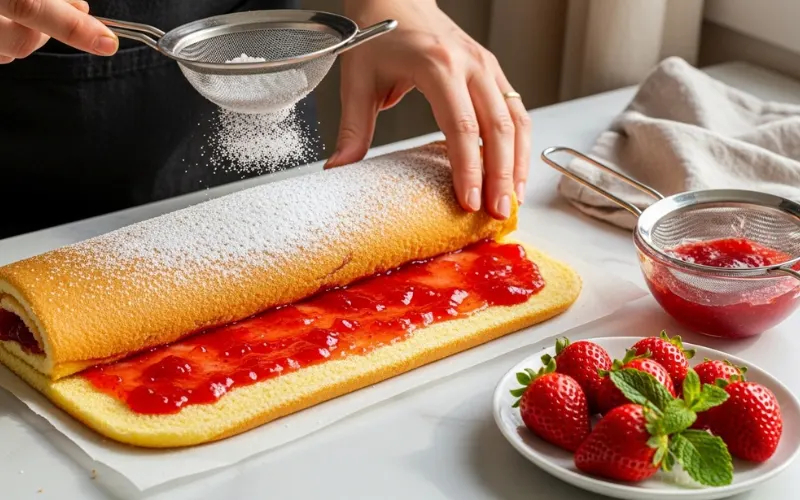
Gently unroll. There will be a slight curve in the sponge. Fill it evenly so that there is still a centimetre of space on the far end so that nothing runs out. Not too much jam, 45 tablespoons is just right.
Re-roll towellessly, following the natural curve. Place seam-side down on a serving plate. Sprinkle with caster sugar or icing sugar. To obtain clean cuts, a serrated knife wet in hot water with a towel in between cuts is used.
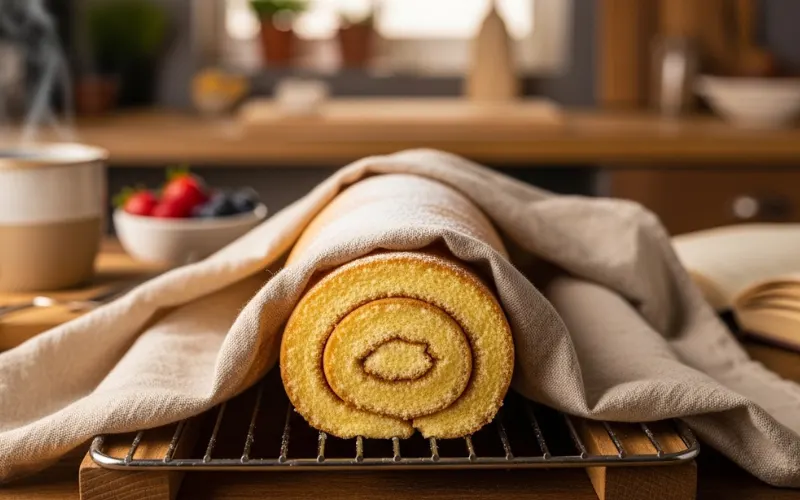
Why the Towel Roll Prevents Cracking
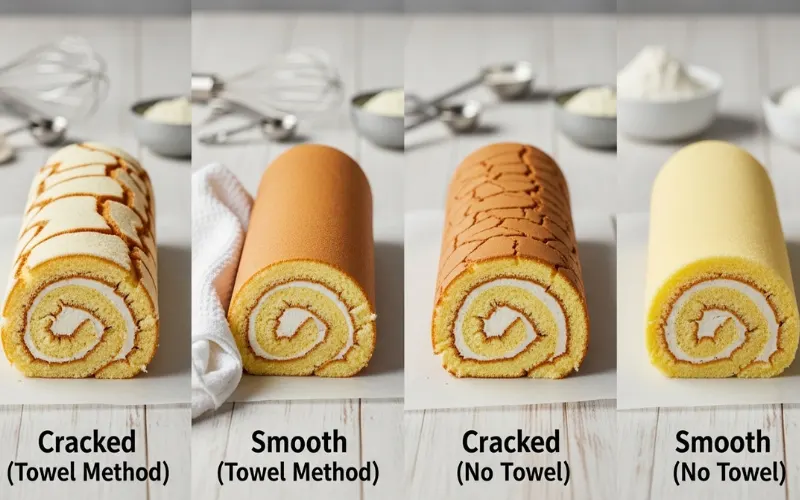
When you roll a hot sponge, proteins and starches set into a curved shape while they’re still flexible. Bakers call this shape memory. Skip the towel roll and the cooled sponge will fight you; it’ll crack along the spine like a paperback forced open.
Some recipes roll in parchment instead. I’ve tried both. The towel absorbs excess steam and prevents a soggy outer layer. Parchment traps moisture against the surface. Towel wins.
Common Mistakes That Ruin a Jelly Roll
Overbaking is the number one killer. Number two is using self-raising flour, which puffs the sponge too thick to roll without splitting. Number three is letting the sponge cool before the first roll. A room-temperature sponge has already set rigid.
I’ve also seen people try to roll from the long edge instead of the short edge. You get a thin, floppy log instead of a fat, satisfying spiral. Always roll from the short end. And never, ever skip trimming those crusty edges. They’re the weak points where cracks start.
What to Do If It Cracks Anyway
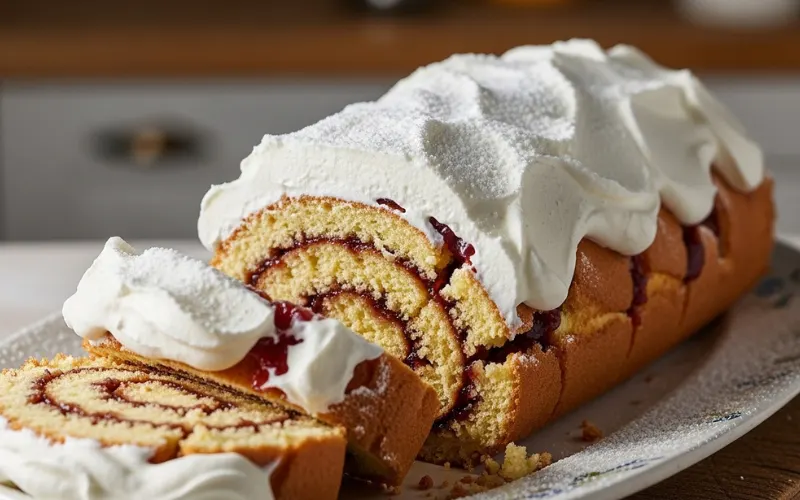
Don’t bin it. Smother the outside with whipped cream and nobody sees the damage. Dust heavily with icing sugar, which hides surface cracks beautifully. A light crack across the top actually looks rustic and homemade.
My favourite save is slicing the roll into pinwheel rounds. The spiral looks intentional and each slice is self-contained. Our guide on rescuing a cracked cake has more ideas for turning baking mishaps into something people want to eat.
5 Filling Ideas Beyond Plain Jam
A good jelly roll filling transforms this from a Tuesday afternoon bake into a proper jelly roll dessert worthy of a dinner party. Most recipes online just say “spread with jam.” That’s fine. But you’ve got options, and I’ve tested all of them over the past three years.
Classic and Cream Fillings
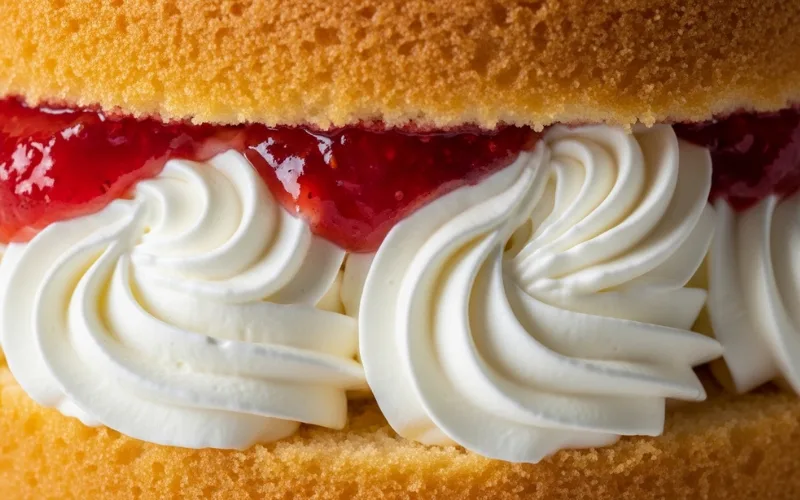 Classic jam is the obvious choice: 4 to 5 tablespoons of raspberry or strawberry jam, warmed 20 seconds in the microwave so it spreads without tearing. Cold jam is the enemy. It drags across the thin sponge and rips holes you can’t fix.
Whipped cream and jam is the step up: 150ml double cream whipped to soft peaks with 3 tablespoons of jam swirled through. Refrigerate within the hour and eat the same day. Chocolate ganache is stunning: 100g dark chocolate melted into 100ml double cream, cooled to spreadable thickness.
My Favourite Fillings
In 2022, Cream cheese and lemon curd were created as a result of not finding jam during the baking process. I combined something in the fridge and made my most-freaked-out recipe. Blend a minimum of 100g cream cheese and icing sugar(2), then mix in lemon curd (3) tablespoons. Tarty, rich, lasts all night.
For kids’ parties, Nutella and sliced banana is unbeatable: 4 tablespoons spread thin, one banana layered on top. Eat within two hours, though. One filling I’d avoid is Biscoff spread; too thick, too sticky, ripped the sponge in three places.
| Filling | Fridge? | Make Ahead? | Keeps | Best For |
| Jam only | No | Yes | 2–3 days | Every day tea, fetes |
| Cream + jam | Yes | No | Same day | Summer gatherings |
| Chocolate ganache | Yes | Yes (day before) | 2 days | Dinner party |
| Cream cheese + lemon | Yes | Yes (morning of) | 2 days | Brunch, afternoon tea |
| Nutella + banana | No | No | 2 hours | Kids’ parties |
Storage, Freezing, and Make-Ahead Tips
A jam-filled jelly roll will last 2-3 days at room temperature in an airtight container or cake tin. The same could be said, as it applies to storing sponge cake in general: cool, dry, covered, not in direct sunlight.
It should be stored in the fridge until filled by cream, cream cheese or ganache; use within two days. When it is of room temperature (30 minutes) it serves. Sponge ice is dry and the cream is chalky.
The Day-Two Secret
This is what most recipes won’t tell you: a jam-filled roll is even more delicious on the second day. Slowly the jam makes the sponge soft, the flavours blend and the texture becomes nearly fudgy in the middle.
And just because of this reason, I have begun to bake mine the night before I need it. And King Arthur Baking does so on their recipe page and they are right. The day-two slices are superior to fresh.
Freezing and Planning Ahead
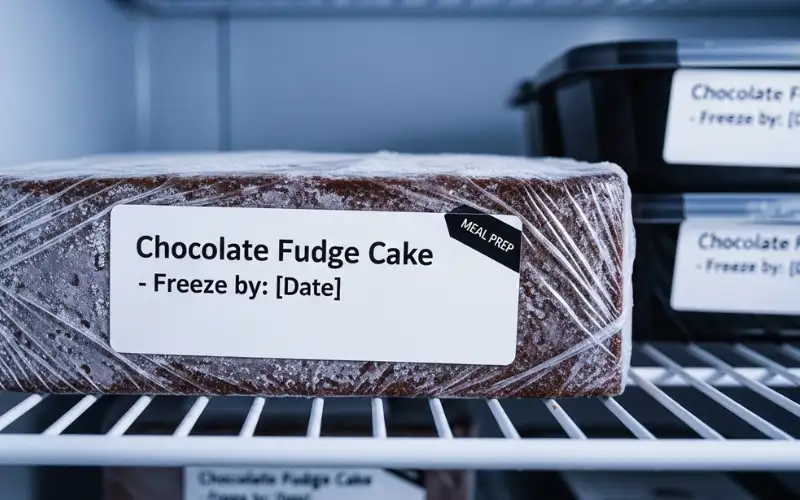
To freeze cakes in advance, wrap the unfilled rolled sponge with cling film, then foil. It has a storage duration of up to 3 months. Allow to thaw at room temperature for an hour, unroll, fill, and re-roll.
Freezing of cream-filled rolls is not recommended. I attempted a birthday party. The cream, good-naturedly divided into watery soup, the sponge melted away into mush. Disposed of it half an hour before visitors and panicked and went to Sainsbury’s to buy a cake.
Planning Ahead
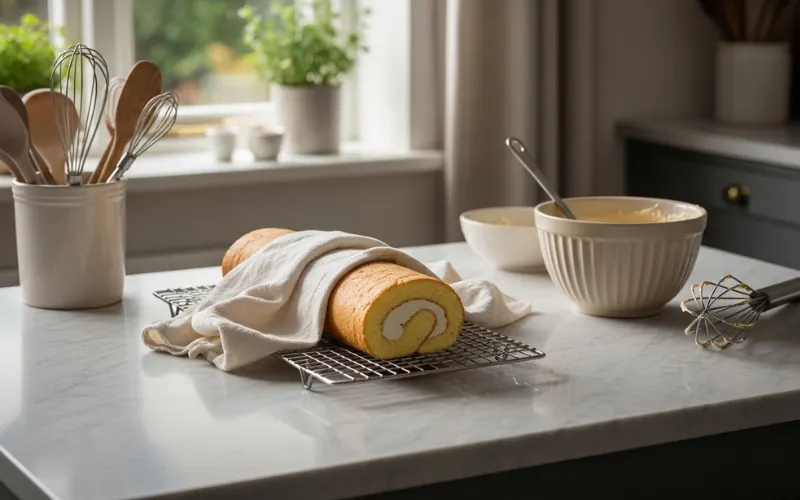
Bake the sponge until you need it, up to 24 hours. Keep it rolled in the towel at room temperature. Prepare the morning of serving to the freshest effect.
Should you be preparing the ganache or cream cheese fill, those should be prepared the night before as well and put them in the refrigerator. Draw the filling out 20 minutes before requiring it to allow it to spread and at the same time, keep cool enough to maintain its structure.
Serving Ideas

A jelly roll is not bad-looking as such, but you can dress it up. Drizzle poured over the chocolate. Add fresh raspberries on the side. A sprinkling of cocoa powder with a paper doily takes ten seconds to make a pattern that makes it appear that you have used an hour.
To take afternoon tea, cut large slices at an angle and fan them on a board with fresh berries. To serve at dinner, cut into thin slices with the crème anglaise. It goes very well with a shot of espresso and some vanilla ice cream as an accompaniment in the ganache version.
Frequently Asked Questions
What kind of cake is used for a jelly roll?
A sponge layer made out of eggs, sugar and flour with minimal fat built into a very thin sponge. Not a Victoria sponge, not a butter cake. With a heavy batter of eggs, a sheet is formed which bends without being fractured.
Can you make a jelly roll from a cake mix?
Yeah, but get yourself a box mix which has the label super moist and omit any oil it requires. Pour the batter into a jelly roll pan, lined and bake until it is shrubbery-thin, 810 min. The texture will not be the same as that of the scratch, but it works.
What is the difference between a jelly roll and a Swiss roll?
Nothing. Jelly roll is an American; Swiss roll is a British one. Both give an account of a thin sponge being rolled around a filling. Frenchmen refer to it as gâteau roulé. The same cake, different names.
How do you stop a jelly roll from cracking?
Don’t overbake (10–12 minutes at 200°C). Roll when hot with a sugared tea towel to determine the curve. Substitute butter with oil to be flexible. Even when it still cracks, it is almost always due to overbaking.
What is the best flour for jelly roll cakes?
The most tender sponge is produced using cake flour or UK plain flour that has been sifted twice. Less gluten refers to less protein and a soft crumb. It is sometimes so thick that it cannot be rolled up.
Does a jelly roll need to be refrigerated?
Only in case of a filling that includes dairy, such as whipped cream, cream cheese, or ganache. An airtight jelly roll can be stored at room temperature and preserves well (lasts up to 2-3 days) with jam only.
How much jam do you put in a jelly roll?
Approximately 4 to 5 tablespoons of a typical 15 x 10-inch roll. Heat it a bit to prevent the tears. Excess squeezes out: lack excess bites dry in the middle.
Can you freeze a jelly roll?
Freeze the rolled sponge, which is not filled, up to 3 months. Wrap in cling film, then foil. Allow to thaw at room temperature, unroll, fill, and re-roll. Freezing cream-filled rolls. Do not freeze: the milk separates.
Why is my jelly roll rubbery?
Overbeating or too much flour. Add flour with a metal spoon, but never a whisk. Add flour by grams (100g), rather than cups, to ensure that you do not add too much flour.
Can I use a baking sheet instead of a jelly roll pan?
Any baking sheet with a rim is good, provided it is about 15×10 inches. Line a piece of parchment, crease the length of the paper at the sides to hold up the batter. Do not use flat cookie sheets that have no sides.
Read Next: Coffee Loophole Recipe: I Tried It for 30 Days and Here’s What Actually Happened